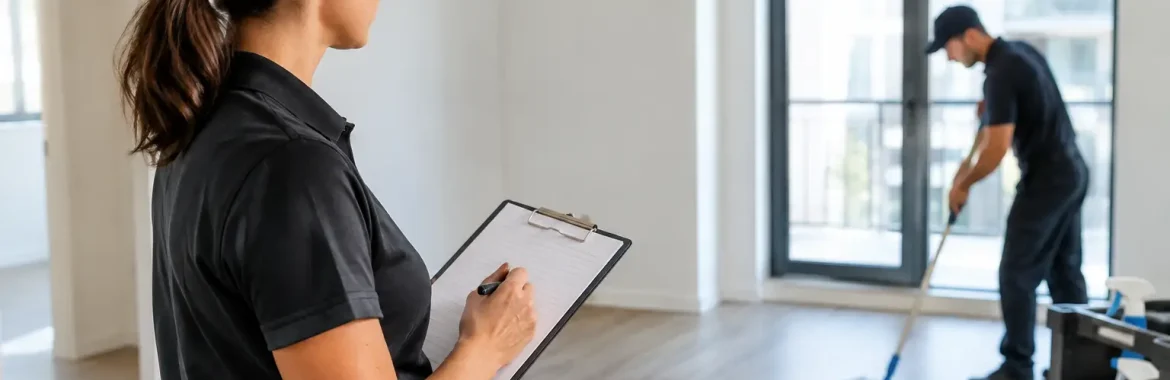
A vacant apartment is not simply an empty unit. It is a period when rent stops, utility costs continue, and every delayed repair can push the next move-in date further out. A disciplined apartment make ready checklist gives owners a repeatable process for returning each unit to market quickly without cutting corners on safety, condition, or tenant expectations.
For Pasadena and Greater Houston owners, make-ready work also has to account for intense heat, humidity, heavy rain, and the wear that comes with year-round HVAC use. The objective is not just to make a unit look clean for photos. It is to deliver a functional, well-maintained home that supports a stronger rental price, fewer early maintenance calls, and a better resident experience.
Why an Apartment Make Ready Checklist Protects Returns
Turnovers can become expensive when they are handled as a series of last-minute tasks. A painter arrives before drywall repairs are complete. Cleaning begins before maintenance is finished. The leasing team cannot market the unit because the final condition is still unknown. Small gaps in coordination often add several days of vacancy.
A documented process creates accountability at each stage. It helps identify damage that should be charged against a security deposit, separates normal wear from resident-caused issues, and establishes a clear scope for vendors. Just as importantly, it allows an owner or property manager to evaluate whether turn costs are reasonable from one vacancy to the next.
Not every unit needs the same level of work. A long-term resident may leave behind worn flooring, aging appliances, or hidden plumbing concerns. A unit occupied for one year may only require touch-up paint, cleaning, and routine inspections. The checklist should set a consistent standard while allowing the repair scope to match the actual condition of the apartment.
Start Before the Resident Moves Out
The best turnover process starts before keys are returned. Confirm the move-out date, provide written move-out expectations, and schedule a preliminary inspection when appropriate. Early visibility gives the maintenance team time to order parts, coordinate vendors, and identify work that could delay leasing.
Document condition and collect access items
Complete a move-out inspection as soon as possible after possession is returned. Use the move-in condition report, dated photos, and maintenance history as reference points. Document damage carefully, including affected rooms, materials, and the work required to restore the apartment.
Collect all keys, mailbox keys, garage remotes, gate devices, parking permits, and access fobs. Then rekey or change access codes before anyone enters the unit for maintenance or cleaning. This protects the former resident, the incoming resident, and the property.
Decide what is a turnover cost versus a capital improvement
Routine turnover expenses may include cleaning, minor wall repair, standard paint touch-ups, and replacement of small worn items. Larger improvements deserve separate consideration. Replacing an outdated appliance package, installing durable flooring, or upgrading bathroom fixtures may increase the initial cost but reduce recurring maintenance and improve marketability.
The right decision depends on rent potential, the condition of comparable units, and the remaining useful life of the existing component. Owners should avoid both extremes: spending heavily on upgrades that will not support a stronger return, or repeatedly patching systems that are already costing too much to maintain.
The Core Apartment Make Ready Checklist
The checklist below is designed to move from assessment to repair, cleaning, quality control, and leasing readiness. Completing work in this order prevents rework and keeps the turn schedule on track.
1. Inspect major systems first
Address items that affect safety, habitability, or move-in timing before cosmetic work. In the Greater Houston market, air conditioning performance should be a priority, particularly during warmer months. A unit that appears ready but cannot maintain a comfortable temperature can quickly become an emergency maintenance issue.
Inspect and test the following:
- HVAC operation, thermostat response, filters, drains, vents, and visible signs of leaks
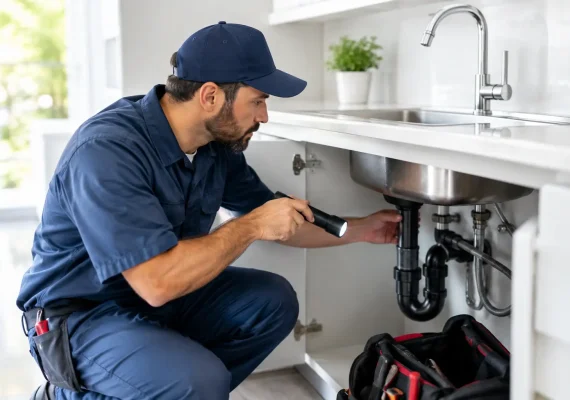
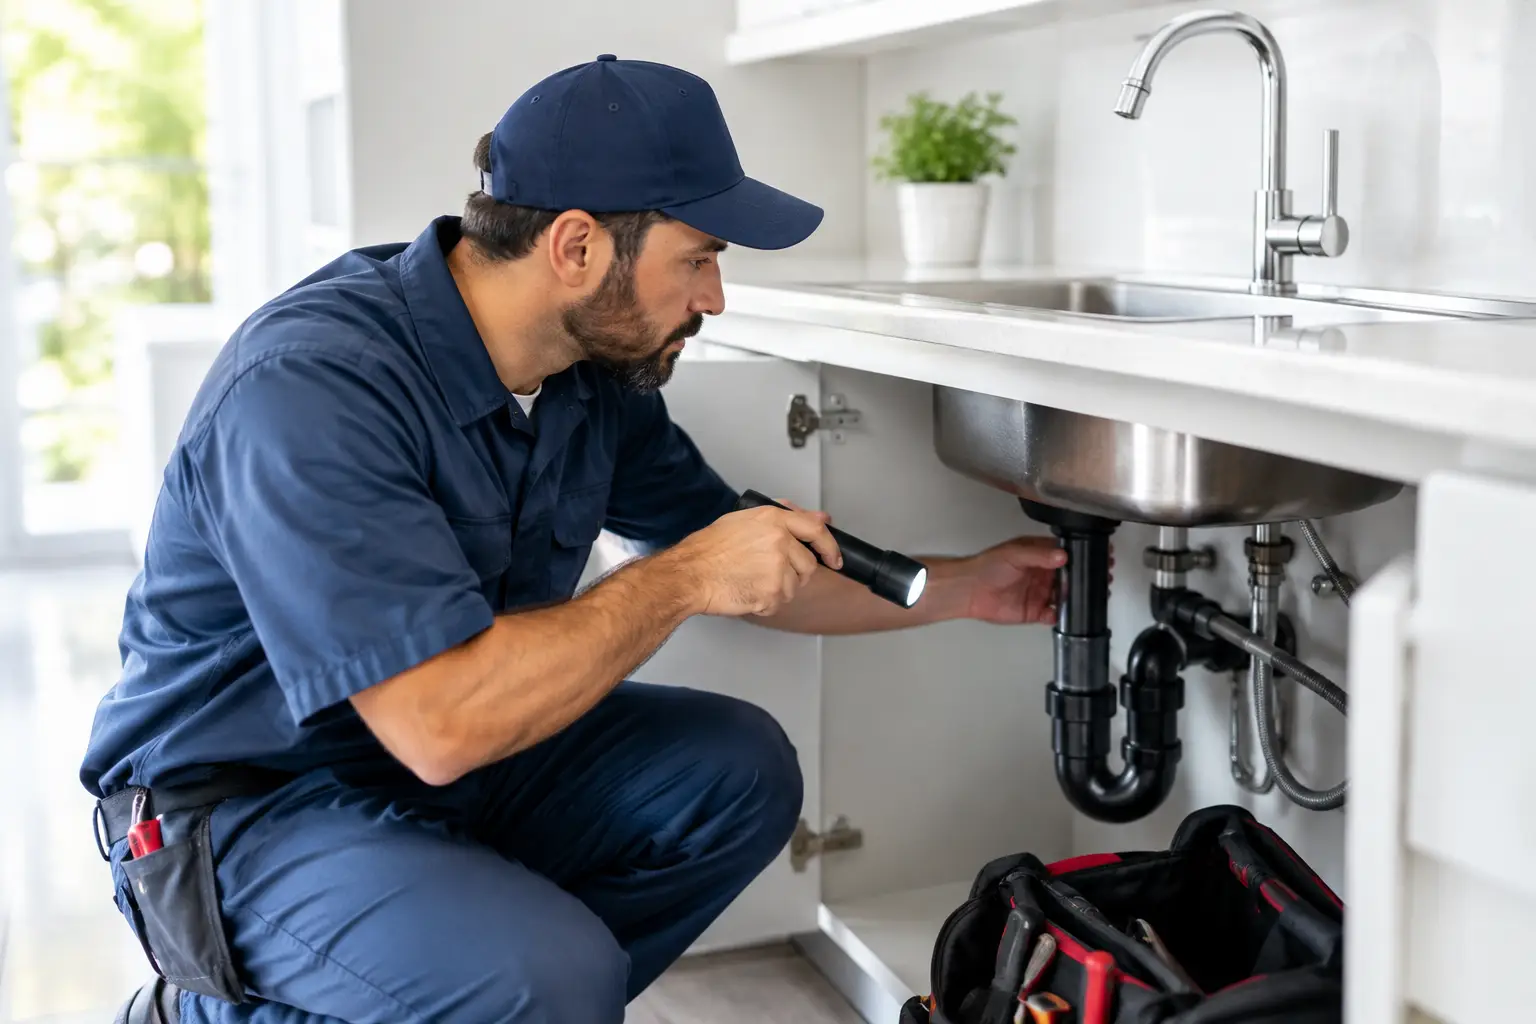
- Plumbing fixtures, shutoff valves, drains, water pressure, toilets, water heater connections, and under-sink cabinets
- Electrical outlets, switches, GFCI outlets, light fixtures, ceiling fans, breakers, and smoke or carbon monoxide alarms where required
- Windows, doors, locks, weatherstripping, blinds, screens, and patio or balcony access points
- Appliances, including refrigerator seals, ice makers, range burners, ovens, dishwashers, disposals, washers, and dryers where provided
Record deficiencies with photos and assign each item to a responsible vendor or technician. Avoid allowing small plumbing leaks, slow drains, damaged seals, or weak HVAC airflow to remain unresolved because they can cause larger problems after move-in.
2. Complete repairs before painting and cleaning
Repair work should follow a logical sequence. Correct water intrusion, plumbing issues, drywall damage, cabinet hardware, flooring hazards, and appliance problems before beginning final cosmetic work. Painting too early can lead to unnecessary touch-ups after contractors finish.
Pay close attention to moisture-related concerns. Houston-area humidity can expose mildew, condensation, and ventilation issues that may not be obvious during a quick walkthrough. Inspect bathrooms, laundry connections, HVAC closets, window sills, kitchen sink bases, and exterior-facing walls for staining, soft materials, or persistent odors. If the source of moisture is not corrected, cleaning the visible result will not solve the problem.
3. Refresh durable surfaces and finishes
Once repairs are complete, restore the unit’s appearance to a consistent property standard. Walls should be patched, sanded, and painted as needed, with matching colors kept on file for future turns. Replace damaged switch plates, stained caulk, broken blinds, worn door stops, and missing cabinet pulls.
Flooring decisions should be practical. Professionally cleaning carpet may be appropriate when it is in good condition and odors are absent. Replacement is usually the better choice when carpet is deeply stained, torn, excessively worn, or retaining pet odors. For high-turn properties, durable hard-surface flooring may provide better long-term value, even though the upfront investment is higher.
4. Perform a true top-to-bottom cleaning
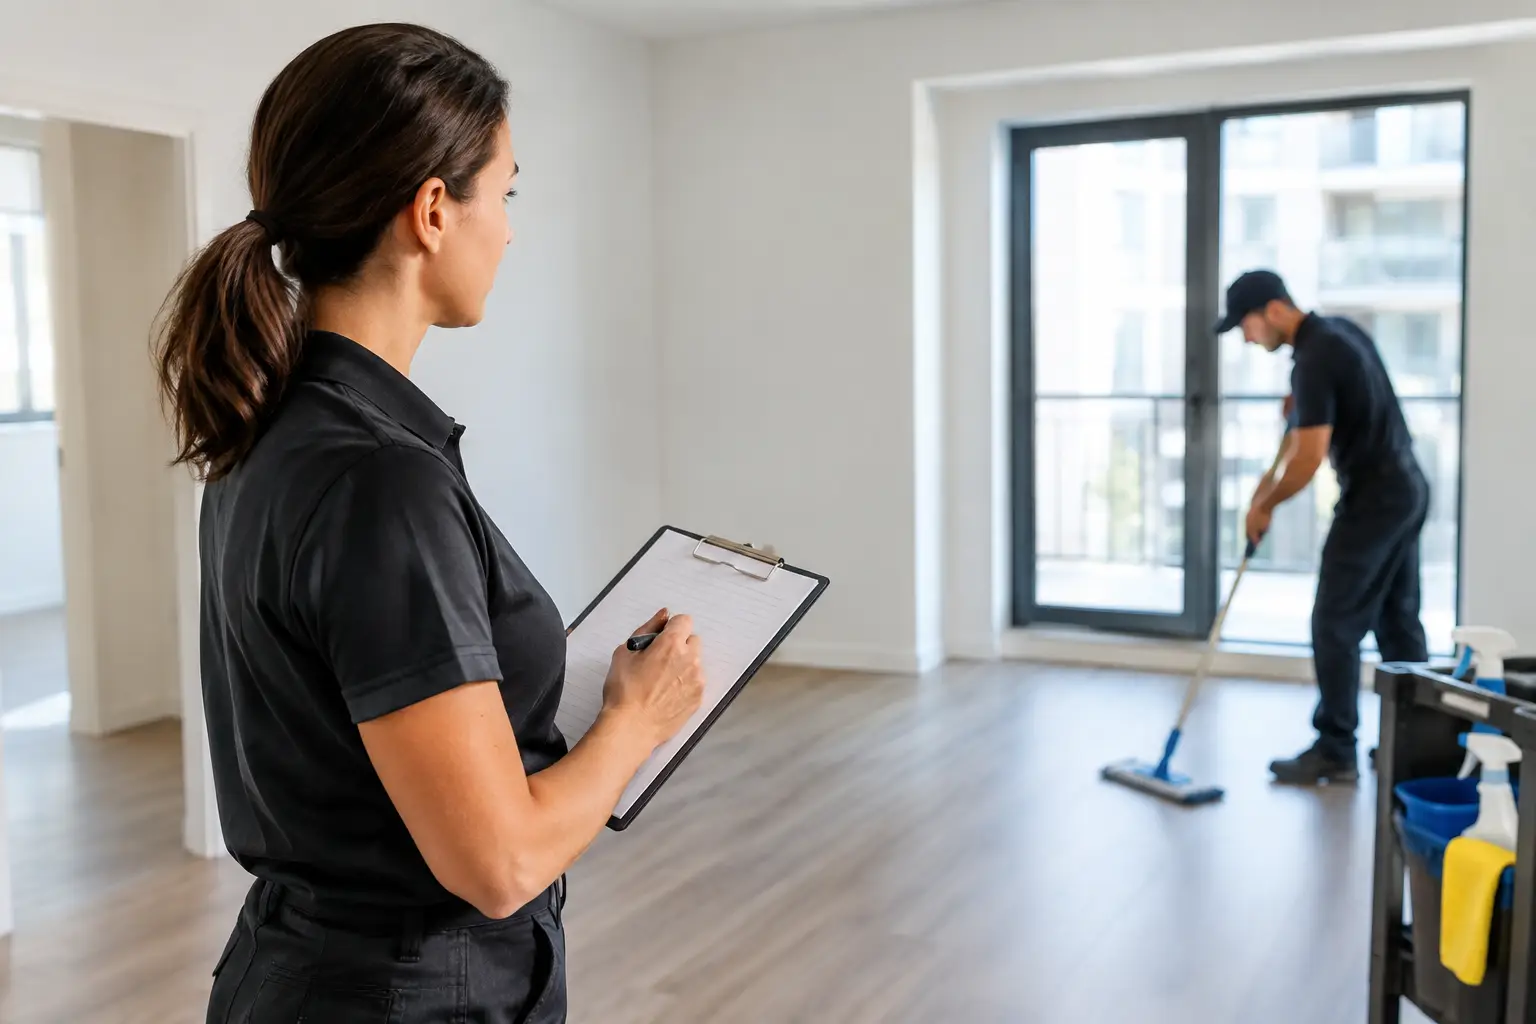
A basic wipe-down is not a make-ready clean. The apartment should be cleaned after repairs and painting are complete, including areas residents notice immediately and areas that affect sanitation or function.
The cleaning scope should include:
- Cabinets, drawers, countertops, backsplashes, sinks, faucets, and appliances inside and out
- Bathrooms, toilets, tubs, showers, mirrors, exhaust covers, grout, and surrounding caulk
- Floors, baseboards, doors, trim, blinds, windows, vents, light fixtures, and ceiling fans
- Closets, laundry areas, patios or balconies, entry areas, and exterior storage spaces if applicable
Remove all trash, abandoned belongings, adhesive residue, and unauthorized items. Neutralize odors at their source rather than covering them with fragrance. Smoke, pet, mildew, and cooking odors can affect prospects the moment they enter the apartment.
5. Verify safety, compliance, and curb appeal
Before a unit is released for showings, conduct a final safety review. Confirm that required life-safety devices are installed and working, locks function correctly, handrails are secure, and there are no exposed wires, trip hazards, sharp edges, or damaged glass. Local requirements and property type can affect specific obligations, so owners should maintain procedures that align with applicable codes and lease commitments.
Do not overlook the approach to the unit. Replace burned-out exterior bulbs, remove cobwebs, clean the entry door, and make sure unit numbers are visible. Prospects form an opinion before they see the kitchen or bedroom. A clean, maintained entry supports the value of the apartment and the property as a whole.
Build the Turn Schedule Around Leasing Deadlines
A make-ready checklist is most effective when paired with a realistic schedule. Start by identifying the target available date, then work backward. Set deadlines for inspection, vendor assignments, repair completion, cleaning, final quality control, photography, and listing activation.
Some work can occur at the same time, but sequencing matters. Maintenance repairs, paint, flooring, cleaning, and final inspection should not compete for access to the same unit. Clear vendor coordination reduces idle time and helps prevent a unit from sitting vacant because one minor task was missed.
Marketing should begin as soon as the unit’s expected availability and condition are reliable. If the apartment is still being refreshed, use accurate timing and do not promise a move-in date that maintenance cannot support. Overpromising creates frustration for prospects and pressure on the onsite team.
Use Final Quality Control to Prevent Early Work Orders
The final walkthrough should be performed by someone who did not complete the repairs whenever possible. A fresh set of eyes catches details that a technician or cleaner may overlook after spending hours in the unit.
Walk the apartment as a new resident would. Turn on every light, run water at every fixture, flush toilets, open and close doors, test locks, operate appliances, check blinds, inspect closets, and stand quietly for a moment to listen for unusual HVAC, plumbing, or appliance noise. Verify that all debris has been removed and that the unit smells clean, not heavily scented.
Take final photos after the apartment passes inspection. These images support marketing, document condition at turnover, and provide a useful baseline for the next move-out. Keep invoices and notes organized by unit as well. Over time, that history reveals patterns such as repeat plumbing issues, high appliance repair costs, or materials that do not hold up well.
When Professional Coordination Makes the Difference
For owners with multiple units, the challenge is rarely knowing that an apartment needs cleaning and repairs. The challenge is coordinating inspections, vendors, leasing activity, resident communication, and cost control without allowing vacancy days to accumulate. A property management team can provide the structure, local vendor relationships, and oversight needed to keep those moving parts aligned.
Prime Realty Property Management approaches turnovers with the owner’s return in mind: address the work that protects the asset, prepare the unit to compete in the local market, and move qualified residents toward a well-maintained home. The goal is not a rushed turn. It is a dependable process that keeps vacancies shorter and standards consistent.
A clean handoff between one resident and the next starts with disciplined preparation. Treat each make-ready as an opportunity to protect the property, improve the resident experience, and put the unit back to work as quickly as conditions allow.